 I was asked to describe how the various components interact. Instead of a lengthy (and confusing) description I offer these diagrams and a (hopefully) shorter description. The first step to building a 3DP is to modify the inkjet into a flatbed printer. To that end you need to have a way to move the entire printer over the paper instead of the paper under the printer. There are 2 problems with moving the printer body directly with the original paper feed motor. First, it probably isn't strong enough and second it will probably make unwanted movements as the printer tries to ready a new piece of paper. My solution was to place a homemade encoder on the paper feed motor that would supply "step" pulses to a second more powerful stepper motor. In this way I could easily interrupt the pulses and stop the gantry movement even if the paper feed motor was still moving. Another source of pulses can be used to return the gantry to the starting position. Switches 1 and 3 are "safety" limit switches to prevent over travel of the gantry. Switch 2 swaps the source of the pulses and changes the printer from "print" to "reset". Also, you will need some way to tell the printer when the "paper" is present and "out". Usually there is an optical sensor which you can block/unblock at the appropriate times. This setup works if you are printing only one page at a time and don't mind resetting it manually each page. Of course, you could design a circuit to automate the switching process and replace switch 2 with a relay.
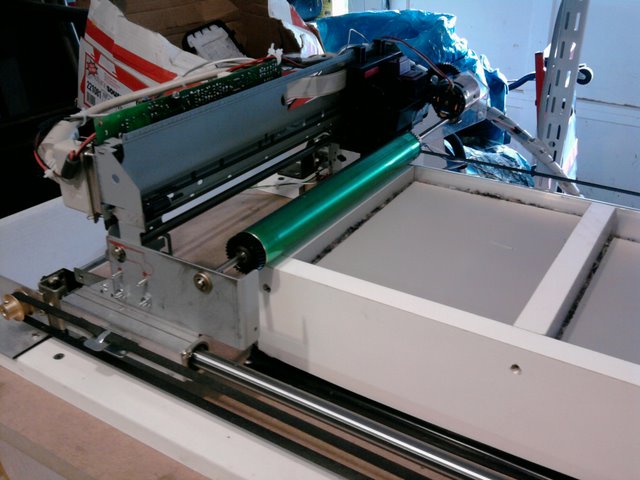
To make a 3DP I needed to not only automate the "reset" but also, precisely control the movement of 2 bins, switch a dc motor on an off, and be able to tell the printing computer to "wait" and not send the next page until the printer is ready. I could have built a dedicated circuit to do all this but as I stated earlier, My knowledge of electronics is limited and I don't have a clue how to program a PIC. I decided instead to go with a CNC setup. The inkjet still does all the actual printing then the CNC takes over and re setts the gantry, adjusts the powder bins,spreads the powder, and then tells the printing computer that it can send the next page. You can see in the diagram that PC 2 has replaced the pulse generator and a relay has replaced switch 2. Additionally, 2 more steppers and a 2 axis stepper driver have been added. Switch 4 gives feedback to the control program and signals the change from the print to the recharge cycle. Relay 2 breaks the connection on pin #11 of the inkjet's parallel port. this tells the PC that the printer is "busy" so it wont send another page until the printer is ready. Relay 3 is connected to the motor that runs the powder roller. The breakout board is a convenient place to make all the connections to the parallel cable and PC 2. Note that the parallel port of the PC doesn't output enough current to drive a relay directly so I used the outputs to switch transistors that supply 5v to the relays.
For the CNC control I use TurboCNC and a G-code program. The program is a step by step set of instructions which can be used to set the logic state (high/low) of the parallel port pins. Also, pins can be monitored and step pulses can be sent to the stepper drivers.
Hopefully this helps clarify what I've done. If I haven't answered your questions feel free to ask.


